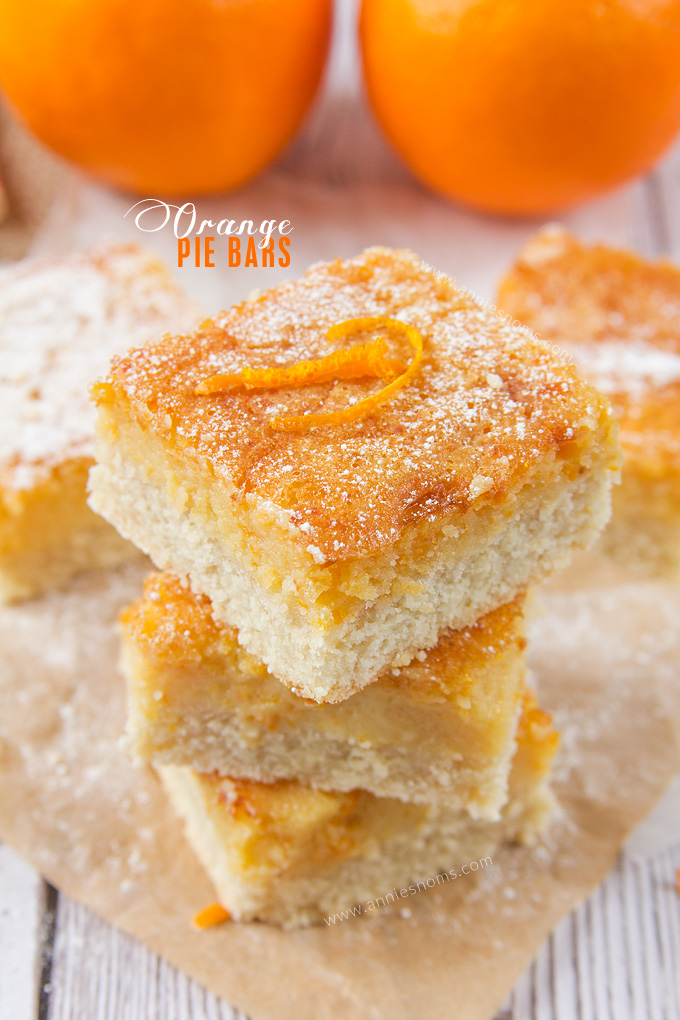
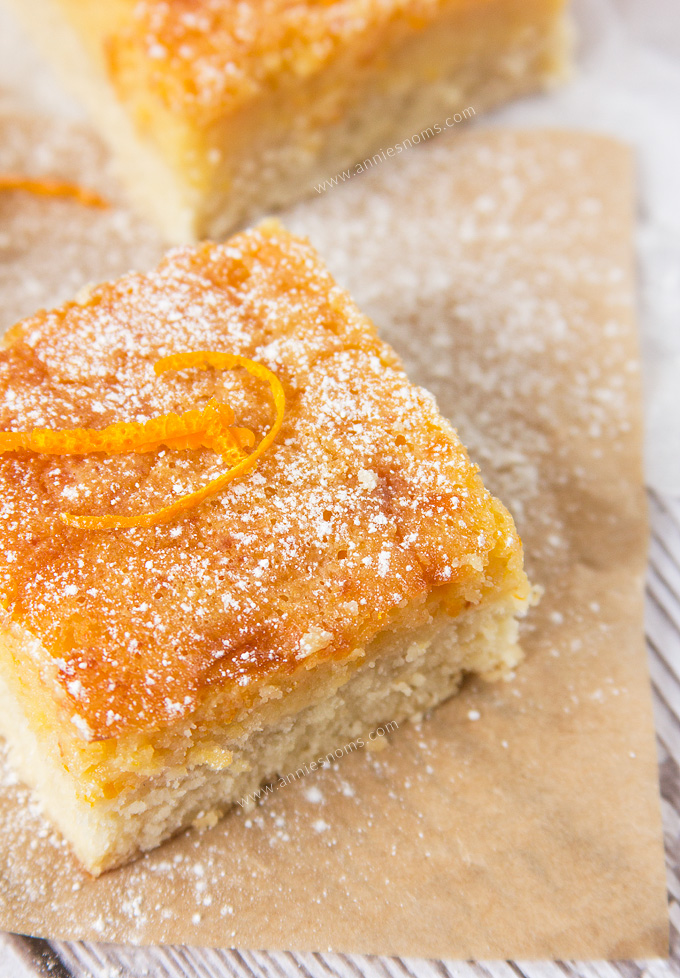
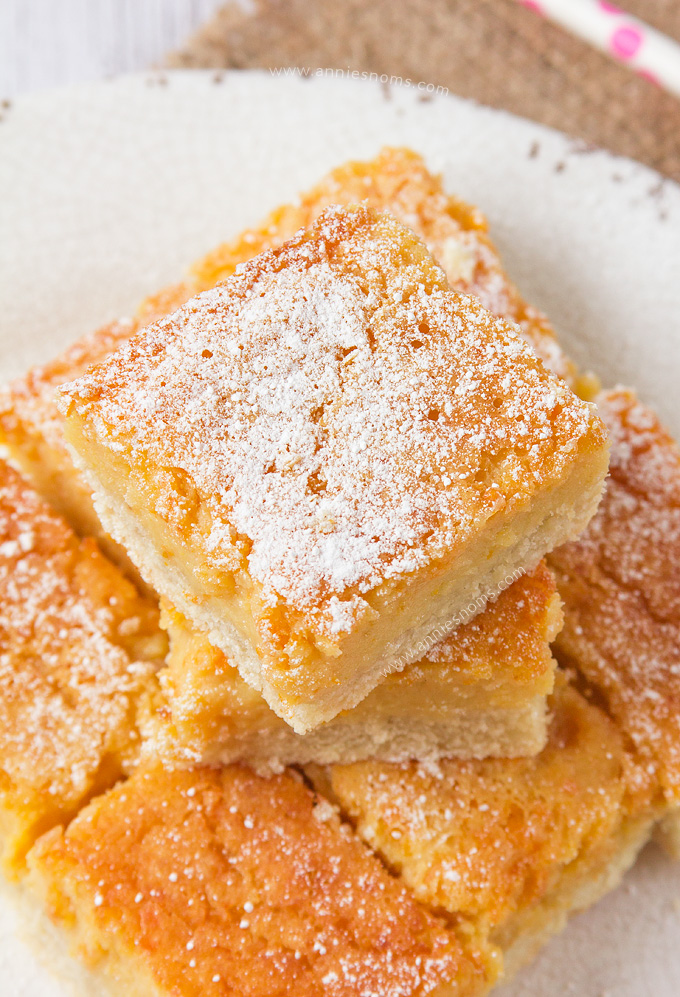
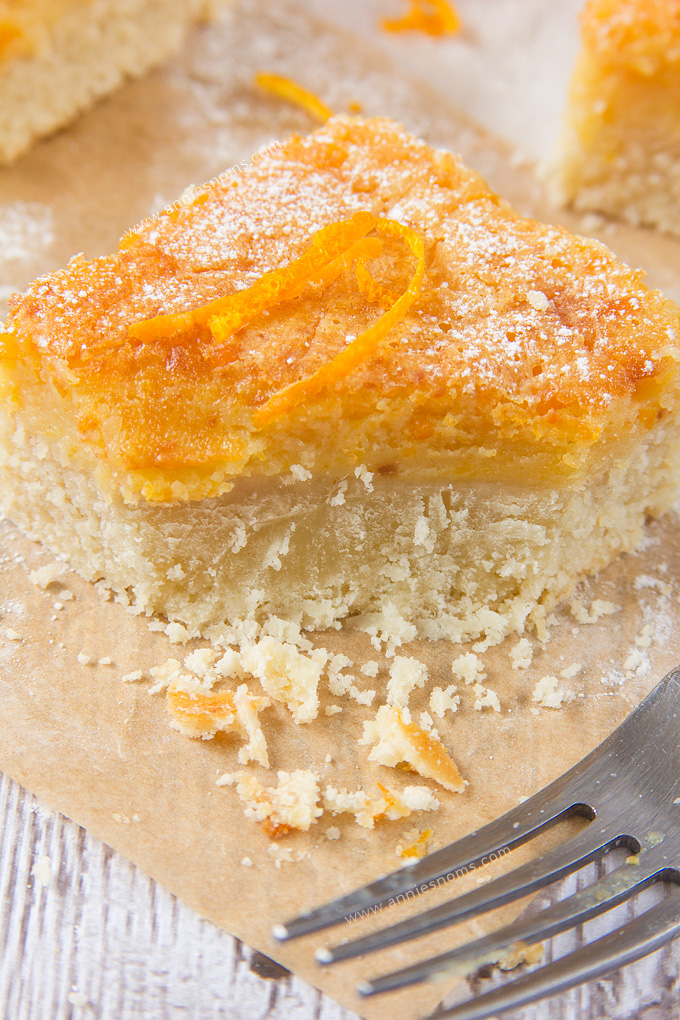
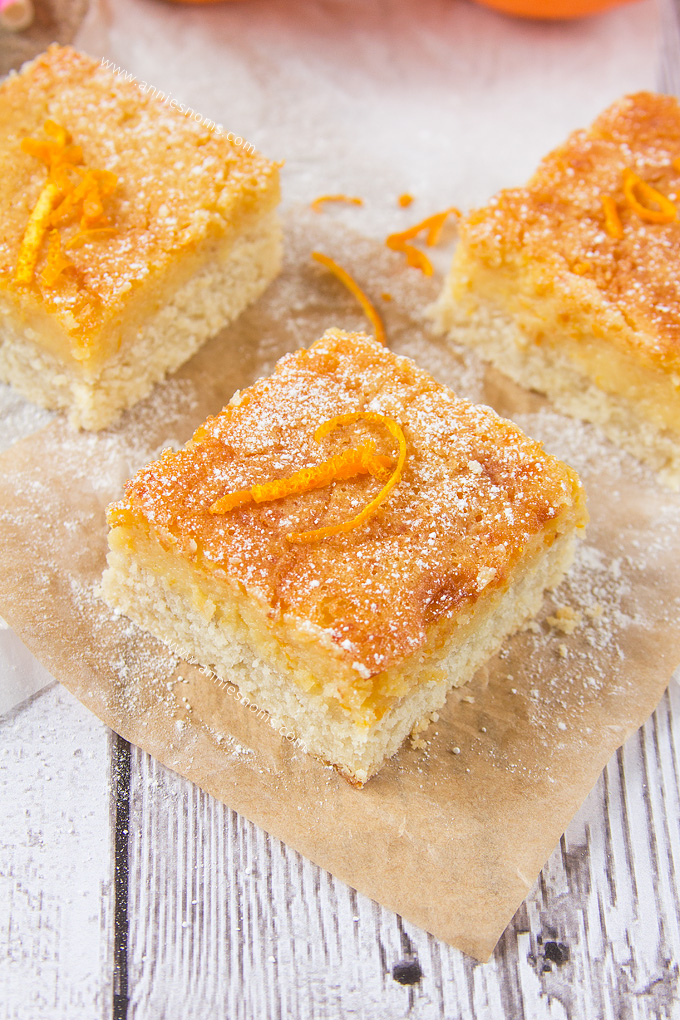
My Orange Pie Bars are just perfect for when you want pie, but are short on time or don’t want a whole slice! No waiting time, the pastry goes straight in to bake before being covered in a luscious, fresh, orange topping and being baked again. Fresh, simple and delicious!
I bit the bullet and bought a new lens.
AND OMG I LOVE IT.
I’m one of those people who literally researches everything for weeks before actually buying something.
Anyone else like that?
It’s a lot of money, I don’t want to just jump in and make a wrong decision… Honestly 40 year old stuck in a 24 year old’s body.
I was flitting between the Canon 24-70mm f/2.8 and the 24-105mm f/4. I’ve been playing about with my fiancés old 28-135 because I’ve been using a fixed 50mm for the last couple years and I was just getting bored with my images being a bit same-y. I mean there’s only so much you can do with a fixed lens right??
I did however, think I hated zoom lenses. Alas, this is not true. I absolutely fell in love with the consistency in my images (without having to clip on a macro lens filter on my fixed 50mm) and how I could get my zoomed out full styled shot and then my close up, oh-my-goodness eat me now gooey shot in about 30 seconds.
But the 28-135 is an old bird and I was having to sharpen the images in Lightroom, so I knew it wasn’t a long term solution.
Then came alllllllllll the research. I thought I wanted the 24-70mm, but after using a lens which could go to 100mm, I realised I need to get that close, but didn’t want to buy a macro lens too as I don’t have any need for a true macro at the moment. And I also don’t do too many zoomed out shots, so I’m probably never going to shoot at 24mm.
Long story short, I went for the 24-105mm f/4 L IS USM and I love it.
Anyways Orange Pie Bars.
This is the last recipe shot with the 28-135, so excuse me if they’re not pin sharp. I cannot WAIT to make another recipe today and shoot with my new lens, but anyway. These pie bars are for those days when you just need a damn slice of pie, but don’t have time to wait for dough to chill or you are on the go.
Blitz up the pastry in the food processor in 30 seconds, push it into a greased pan. Blind bake it, then top it with the most amazing, silky smooth, luscious orange topping. Bake. Cool. Devour.
It’s really that simple.
I used my favourite shortcrust pastry and then made a condensed milk based orange topping. Due to the sweetness of the condensed milk, I only need to use 1/3 cup sugar along with the zest of 2 oranges and the juice of 1 orange.
The orange gives the freshest, most zesty flavour, but the condensed milk and sugar cut through it just enough for these bars not to be tart.
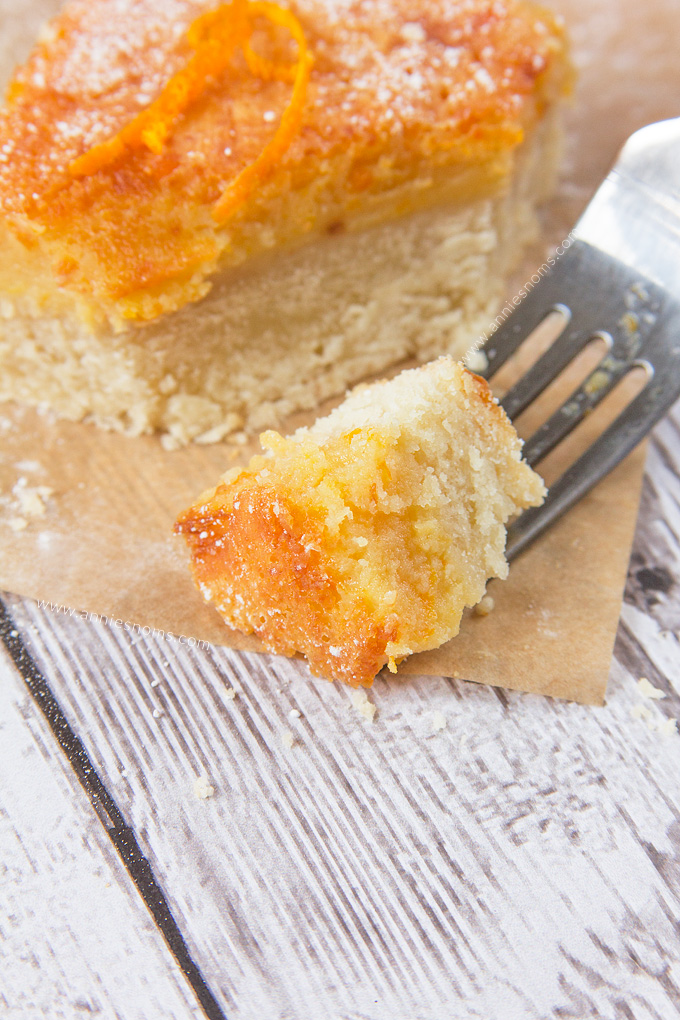
I actually can’t put into words how good the topping is. It’s like nothing I’ve tasted before. Orange + condensed milk = heaven. It really does. It’s smooth, melt in your mouth good.
It’s like velvet and then there’s the contrasting short pastry bottom. You get a good pie to crust ratio, it’s pretty much 50/50 which for me is perfect because I am a stodge queen.
Honestly, when I have a chicken pie or something similar for dinner, I take some filling and lots of lots and lots of pastry. Then I leave it to last, because you should always leave the best till last.
And don’t even get me started on Suet dumplings. OHMYGOODNESS.
Basically, go and make these pie bars. Portable pie that tastes like Summer. They’re genius.
Now, excuse me whilst I go photograph the world… 😉
Be sure to hashtag any of my recipes you make with #anniesnoms on Instagram!!
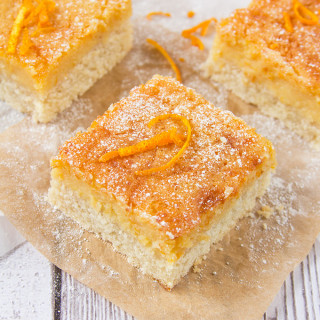
Orange Pie Bars
Ingredients
- For the pie crust:
- 2 cups (280g) plain flour
- 3 tbsp sugar
- Pinch salt
- 1 1/2 sticks (170g) unsalted butter, cubed and cold from the fridge
- 3-4 tbsp cold water
- For the orange topping:
- 14 oz (397g) tin of condensed milk
- Zest of 2 oranges
- Juice of 1 orange
- 1/3 cup (66g) caster sugar
- 1/2 tsp vanilla extract
- 3 large egg yolks
- 1/3 cup (46g) plain flour
Instructions
- Preheat oven to 200C/400F and grease and line an 8 x 8 inch square pan.
- Make the pie crust first: place flour, sugar, salt and butter into your food processor and blitz until you have a breadcrumb like consistency. I would recommend pulsing the mix, not just turning the processor on and leaving it.
- Add in water, 1tbsp at a time, pulsing in between until your dough comes together and pulls away from the sides. (You will need to continue pulsing for around 30 seconds after you've added the water) - I needed 4tbsp of water this time round, but have needed 3tbsp in the past. It really depends!!
- Alternatively, you can place all, but the water, into a large bowl and rub the butter into the flour mix with your fingers until you have breadcrumb consistency. Then add the water, 1tbsp at a time, mixing with a wooden spoon in between additions until it starts to come together. Then switch to your hands to bring the dough together fully.
- Tip dough into your greased and lined pan and push into a level layer, I find it easier to use my hands to push the pie crust into the pan.
- Prick the dough all over with a fork and then place a sheet of grease proof paper over the top of it. Tip in ceramic baking beans, or rice, enough to cover the grease proof paper.
- Place in the oven for 15-20 minutes, until slightly puffy and the edges are lightly golden. Lightly lift a corner of the grease proof paper to check on the dough. It will be slightly firm to the touch and not shiny and wet looking.
- Whilst the crust is baking, make the topping. Place condensed milk, zest, orange juice, caster sugar, vanilla extract and egg yolks into a large bowl and whisk until combined and smooth.
- Add in flour and whisk until well combined and there are no lumps. Leave to one side whilst the crust finishes baking.
- Once the crust is done, turn the oven down to 180C/350F and lift out the grease proof paper covered in baking beans and tip beans into a heat proof bowl to cool. (You might have to spoon a few off the pie crust yourself, the beans run off everywhere!!!)
- Pour your orange topping all over the pie crust and give the pan a little shake to level the topping.
- Place in the oven for 17-23 minutes, until lightly golden, slightly darker around the edges, and the middle is set. Wobble it slightly, the middle may move ever so slightly, but it should be set.
- Leave to cool in the pan completely, before transferring to a cutting board to slice into 9-12 bars.
- Bars will keep in an airtight container, in the fridge for 4 days. Best served at room temperature.
