I’m addicted to buying cookbooks again…
It’s alright when I go through phases which don’t cost anything like playing the Sims or reading, but buying cookbooks gets kinda expensive you know?
Four arrived yesterday.
I completely understand as it confuses me too, but people often ask how I can be so obsessed with food when I have an eating disorder.
Well, my answer is I think that eating disorders often mean you are obsessed with food, you look at absolutely everything, you look at the calories, the fat, everything – you eat it, you feel guilty. Sometimes I tell myself I won’t be eating that again as it’s not worth the guilt, sometimes I think how I can be really restricted the next day so I plan what I’ll eat… You’re just always thinking about food.
So in a way it does make sense that I’m obsessed with food. However, whilst I’m obsessed with calories etc, I still absolutely love baking. I know I don’t eat a lot of my cakes etc, but every single day I look at pictures of food, either on blogs, Pinterest or in cookbooks. I don’t know if my brain is trying to sort of flip my eating disorder around so that it becomes a positive, but I am always thinking about food.
I also believe that cooking is therapy for me. I am terrified of eating out and hate eating fast food, but I think this is because I wasn’t there at the cooking process and I don’t know what has gone into it. By making things myself, I know the amount of oil I used, how I cooked it, how many vegetables I put in it etc. It makes me feel reassured that it’s OK to eat it.
I’m in a pretty good place right now, the beginning of 2013 has been really good. I’m maintaining the same weight, I’m eating healthily and no longer feel quite so guilty if I have a small treat and I’m putting emphasis on being healthy, I’m still exercising, but that means I feel like I’m OK to eat more as I’m burning more and my body needs energy. I haven’t been falling asleep in the day for ages, I have lots more energy than I used to. I still have off days, of course, and I get frustrated with myself when my brain plays tricks on me, but I feel like I’ve made so much progress and I just hope I can continue with it.
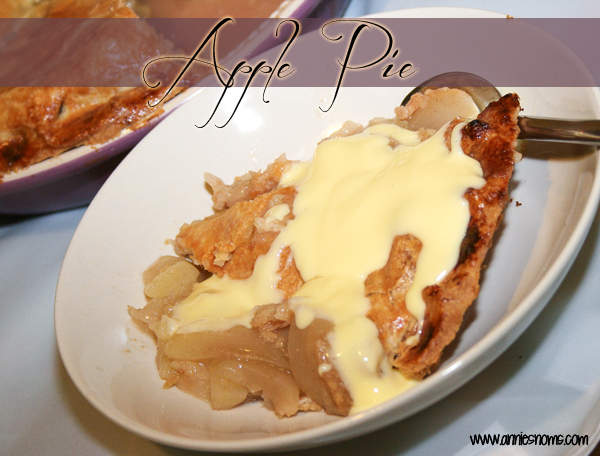
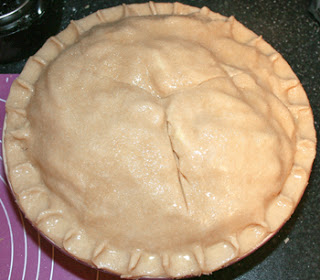
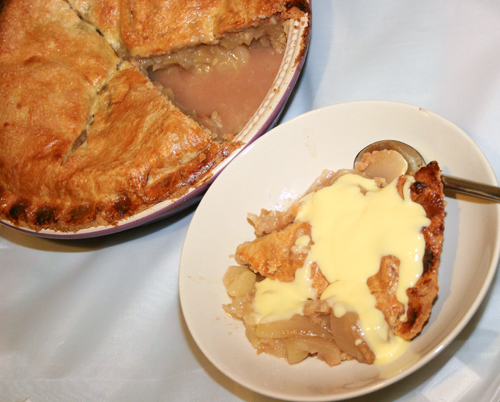
For someone who is so obsessed with food, I thought it was high time I made a proper Apple Pie. I find it so comforting, sweet and tart at the same time with a gorgeous amount of pastry. I used Martha Stewart’s recipe and served this up for New Years Eve’s dessert. It went down amazingly well. I altered the recipe slightly, halving the cinnamon as my family aren’t too into an overpowering cinnamon flavour, but we actually decided that while it tasted so good, it’d probably be good with a quarter of the amount of cinnamon. I’m definitely making this again as it also means I can use my new purple Le Creuset pie plate 😀
Makes one 9 inch double crust pie.
Recipe from Martha Stewart’s Pies and Tarts
Ingredients for the Pâte Brisée:
> 2 and 1/2 cups plain flour
> 1tsp salt
> 1tsp caster sugar
> 2 sticks (226g) cold butter
> 1/4 – 1/2 cup cold water (I needed closer to 1/2 cup)
Ingredients for the pie filling:
> 3 pounds apples, peeled, cored and cut into 1/4 inch thick slices (I used Granny Smiths, but you can use a mixture of sharper and sweeter apples depending on your tastes. We love sharp apples!)
> 3tbsp plain flour
> 2tbsp lemon juice
> 1/4 cup caster sugar
> 1 tsp ground cinnamon (I used 1/2tsp – would use 1/4tsp next time)
> Pinch of ground nutmeg
> 1/8tsp salt
> 1tbsp cold butter, cut into small pieces
> 1 egg, lightly beaten with a fork, to brush on the pastry
> Granulated sugar to dust
Method:
> Make the Pâte Brisée first. Cut the cold butter into 1 inch cubes.
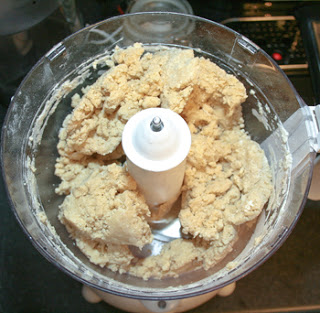
> Place the flour, salt, sugar and butter into a food processor. You can rub the butter into the flour mix by hand, but it literally takes about 30 seconds in the food processor.
> Pulse for about 10 seconds until the mixture resembles coarse sand.
> Add in 1/4 cup of water and pulse. If the mixture is too dry add in more water a tablespoon at a time until a dough forms. Don’t overmix, stop just when the dough forms.
> Lightly flour your work surface and tip the dough out onto it. Lay out two pieces of clingfilm and then split the dough in half and make 2 dough balls. Place each dough ball on a piece of clingfilm and then wrap up. Place in the fridge to chill for an hour.
> After the dough has been chilling for an hour, take out one dough ball. Lightly flour the work surface and turn the dough out. Roll out your dough until it is a 13 inch round. I would advise turning the dough an 1/8th of a turn after every roll to keep the dough round.
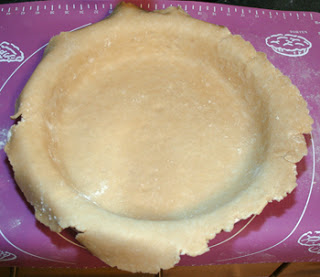
> Lightly grease your pie dish and then place the dough into the dish. The best way to do this is to lightly roll the dough up onto the rolling pin and then lay it over the dish. Then take a small piece of dough from the edge and use it to gently push the dough into place.
> Place the dough back into the fridge for 30 minutes without trimming the edges.
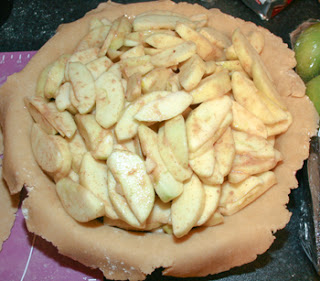
> During this time, prepare your filling. Once you’ve peeled, cored and sliced all of your apples place them into a large bowl. Place the flour, lemon juice, sugar, cinnamon, nutmeg and salt into the bowl and toss together with your hands.
> Get your chilled pie crust out of the fridge and then tip your apple filling in, piling it up a bit in the middle.
> Lightly flour your work surface and get the other half of the dough out of the fridge. Roll it out into a 10 inch round and place on top of the pie.
> Using a sharp knife, slice around the edge of the pie to get rid of the excess dough. Then press down the edges and crimp how you like.
> Make 3 slits in the top of the pie and then brush with the lightly beaten egg.
> Sprinkle granulated sugar over the top of the pie.
> Place the pie back in the fridge for 30 minutes (last time, I promise!)
> During this time, preheat the oven to 220 degrees C.
> After 30 minutes take the pie out of the fridge and place into the oven. Bake for 25 minutes at 220 degrees C and then turn the oven down to 190 degrees C for a further 60-75 minutes until the crust is golden brown and the juices are bubbling out of the slits in the top. If the top browns too quickly, make a tent out of foil to cover the pie. (I had to do this).
> Once the pie is all baked and gorgeous looking take out of the oven and leave to cool for 3 hours. Believe me, the pie will still be a good temperature to eat after 3 hours, but this means it won’t fall apart so much when you cut into it as the filling has a bit of time to set 🙂
> Serve with ice cream or custard and dig in!
> Pie will keep covered in the fridge for about 2 days once it has cooled completely
Enjoy 🙂
Entered into What’s Cookin’ Wednesday at Buns In My Oven, Thursday’s Treasures at Recipes For My Boys and Foodie Friends Friday

