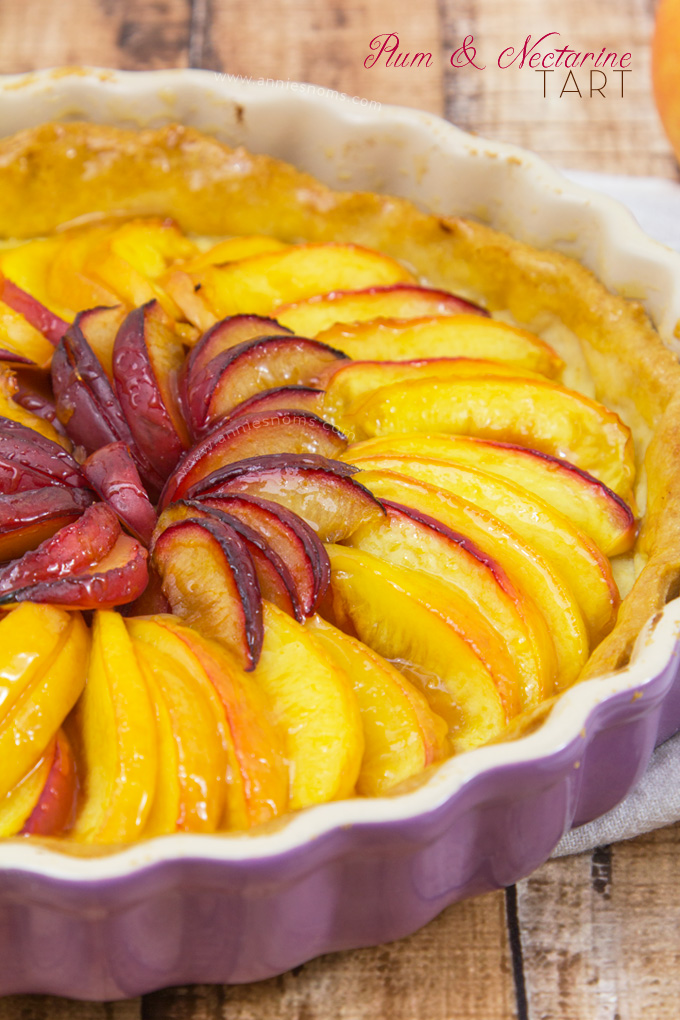
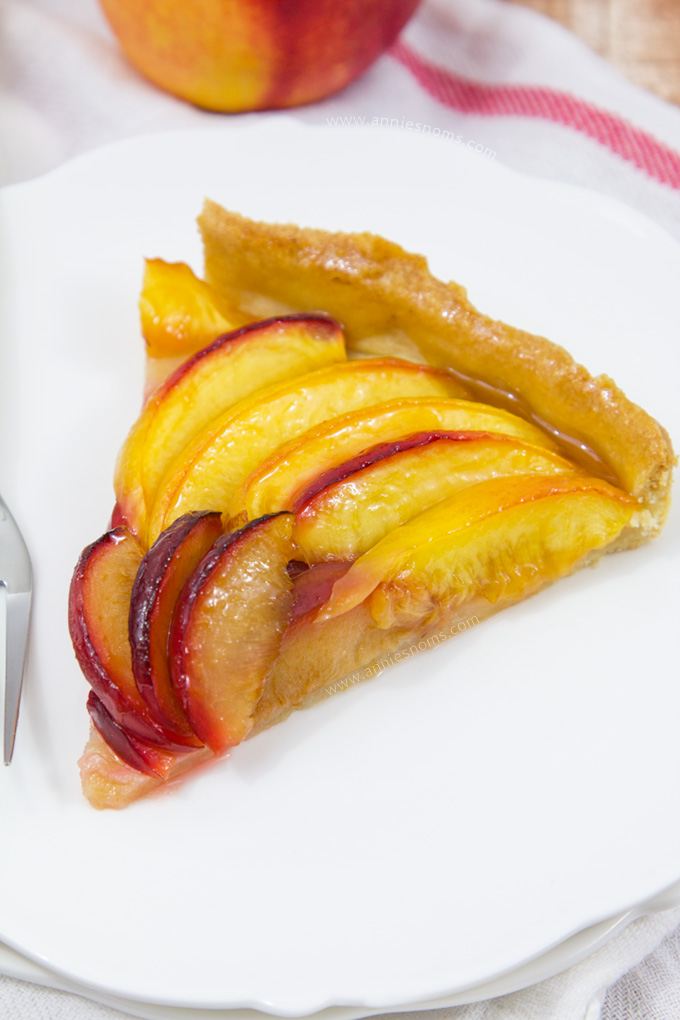
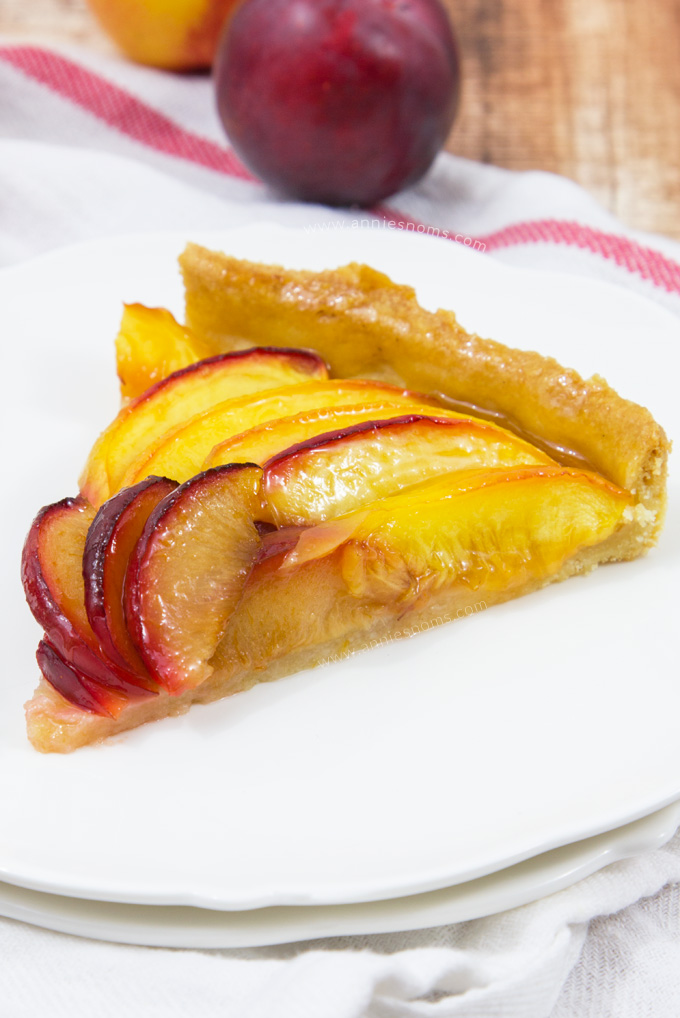
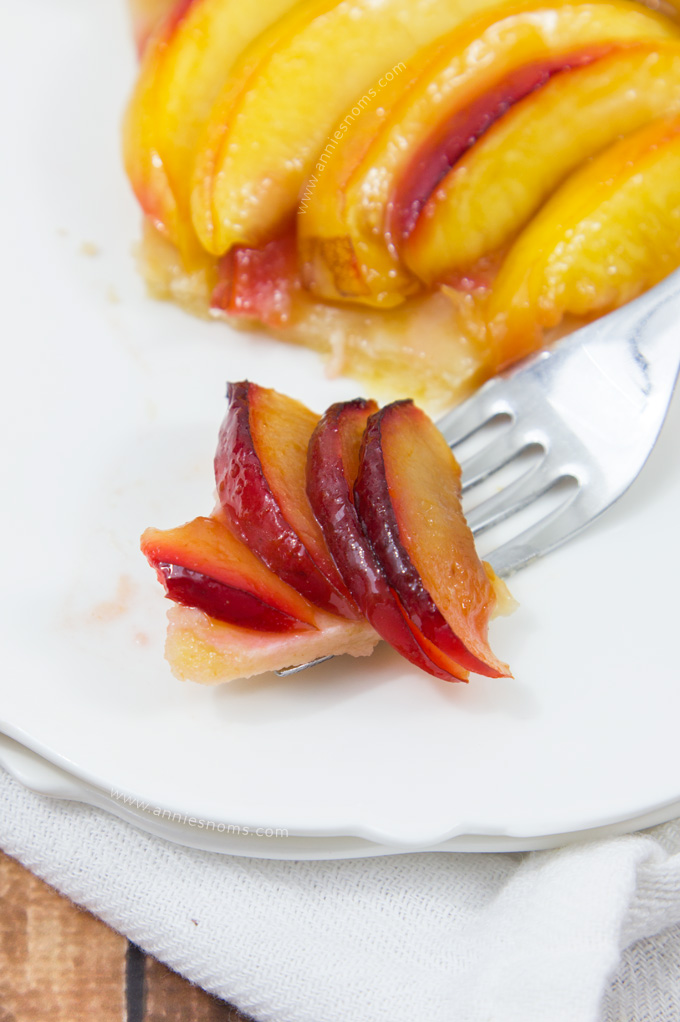
This Plum and Nectarine Tart may look fancy, but it’s SO easy to make! Especially with my fool proof pie crust! A crunchy base and soft, tender fruit that explodes with flavour, makes this tart a must bake this Autumn!
My goodness this week has been hard. Thank you for all of your comments, tweets and emails, it really means a lot. I’ve been keeping incredibly busy, taking it one day at a time. Dad has been working like crazy too to keep his mind off of things. I guess we just have to keep on going, taking it day by day… maybe one day we can remember all the good things, but right now it feels too raw.
Anyway, you’re here for food, so food you shall have! I have an admission; I’ve kind of been holding out on you. The crust for this recipe is my absolute go-to recipe for pie dough and I’ve used it for a good few years since developing it. Up until now, I’ve never planned a pie that needed a crust, or if I’ve used the crust, it’s been for other things, not for the blog.
But, it’s high time I share it with you. Especially as it’s married with juicy, plums and nectarines to create this scrumptious Plum and Nectarine Tart.
*Disclaimer* Mr Annie’s Noms did the pretty fanning of the fruit. I tried three times and it was a disaster!!! 😀 I am not blessed with the patience to create symmetrical patterns. 😉
I’ve been on a real nectarine and peach kick recently. Have you seen those flat peaches and nectarines in the shops? I’m addicted to them as they’re so much easier to eat! You can just slice into wedges, then remove the stone, rather than the hideous mess I make trying to de-stone a normal nectarine…
This tart required “proper” nectarines though, as the slices were longer and rounded enough to create the concentric pattern.
Before we get onto the making of the tart, let’s talk about that pie crust… I have to admit with all the chaos of the weekend, I completely forgot step-by-step photos, so I’ve explained it as best I can. Next time I make this dough, I’ll shoot some photos and add them in!
Have you ever used your food processor to make pie dough? If not, you seriously need to. Honestly, who has time to blend pastry by hand when you can do it in 30 seconds in the food processor!??
It’s the easiest thing ever and makes pastry even more approachable. It’s now the only way I make my pie dough.
OK, you need 2 cups of flour, 3tbsp of sugar, 1/4tsp salt, 1 and 1/2 sticks cold, cubed butter and 3-4tbsp of water. For me it always ends up being 4tbsp of water.
You start by pulsing the flour, sugar, salt and butter, just until it looks like coarse bread crumbs. Then you add in the water, 1tbsp at a time until it comes together into one large lump and doesn’t stick to the sides. Don’t be tempted to add more water until you’ve pulsed it for at least 20 seconds. It takes a bit of time to come together and you may inadvertently add more water than required if you add it in quickly.
Basically, the whole lump of dough will whizz around the side as it doesn’t stick to anything and doesn’t have any more bits to mix together. This means it’s time to get rolling.
I’ve found this crust very forgiving. It is a cinch to roll and turn and doesn’t crack/break or get holes in.
I have a silicone pastry mat and it is the best thing EVER. I lightly flour it (just to be safe) and NOTHING sticks to it at all. Ever. Wonderful. 🙂
To roll out the crust; I lightly flour the top of the dough, roll once, then turn it an 1/8th to the right, roll once, move it 1/8th to the right.. etc. etc. to keep the shape round. For this tart, I rolled my dough out to be just under 1/8th inch thick (3-4mm).
Then you use the rolling pin to roll the dough up loosely, so you can carry it over to your prepared tin and unroll it over the top.
TOP TIP: Break off a little piece of dough from the edge and roll it into a ball, then you can use this ball of dough to push the dough into the pan without cracks/finger marks.
The secret to keeping that crust crunchy and not soggy with the fruit? Blind baking it before you add your fruit. I place a sheet of grease proof paper on top of the crust and tip in baking beans. Then I bake it for 10-12 minutes until the edges are just starting to colour. After removing the baking beans I put the crust back in the oven for 5 minutes to ensure that middle stays crunchy.
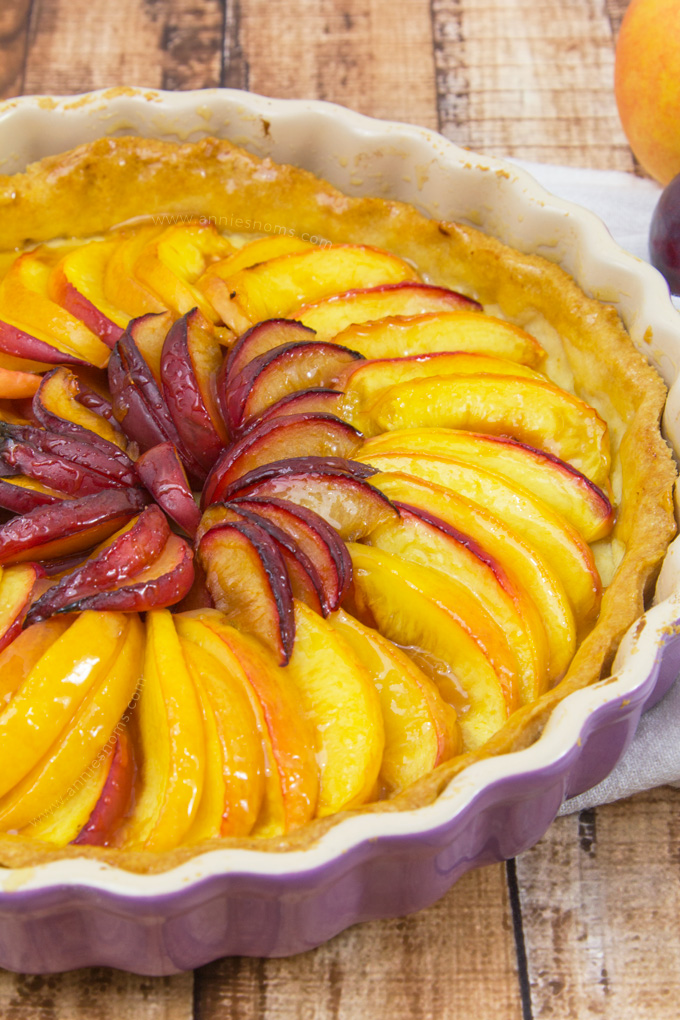
After that, you can get to the fruit bit! Take your time making the pattern if you want maximum WOW factor! I think this tart has that…?
The Mr started in the centre creating a small circle with slices of plum. You overlap the slices and turn them slightly every time you add one in order to make them meet up with each other. Then he repeated it with the outer layer of nectarines. Some slices fitted in-between plum slices and I think that made it really pretty. 🙂
Once you have your pattern, place back in the oven for 17-20 minutes, until the fruit looks soft and ever so slightly browned.
It’s best to let the tart cool completely before doing anything else; I wanted to make sure this tart looked great in my photos, so adding that glaze was a necessity.
I used a couple of tablespoons of apricot baking glaze, mixed with a little water. Once mixed until you have a pretty runny mixture, I lightly brushed it all over the fruit and crust.
Don’t you just think it adds to the final product? It looks so much more appetising!
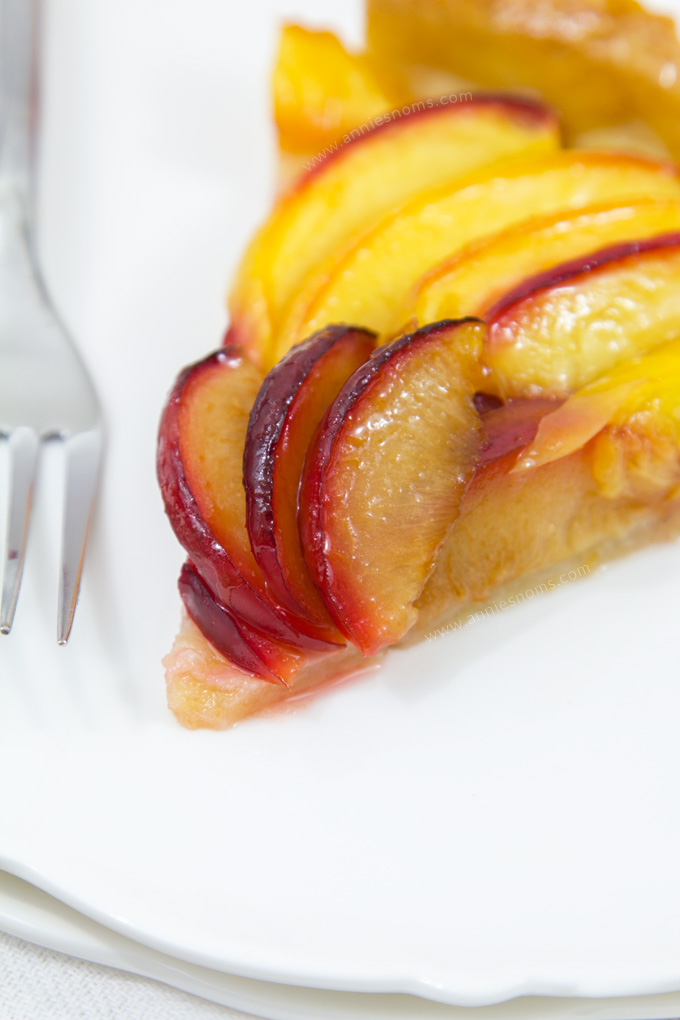
SO, a long post and there are loads of steps in the recipe, but don’t be scared! Follow all of these steps and you will end up with this amazing tart at the end. It’s crisp, sweet, juicy and perfect. Just gorgeous!
Equipment I used:
Pie Crust Shield: Lakeland
Silicone pastry mat: Amazon
Large Non-Stick Rolling Pin: Cake-Stuff
Ceramic Baking Beans: Cake-Stuff
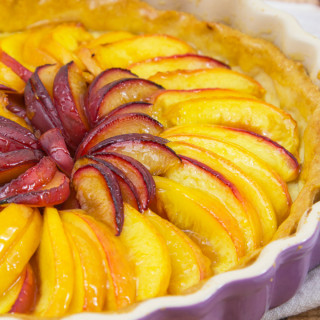
Plum and Nectarine Tart
Ingredients
- For the crust:
- 2 cups (280g) plain flour
- 3 tbsp caster sugar
- 1/4 tsp salt
- 1 1/2 sticks (170g) unsalted butter, cold and cut into 1 inch cubes
- 3-4 tbsp ice cold water
- For the filling:
- 2 1/2 large nectarines, halved, de-stoned and sliced thinly
- 3 small plums, halved, de-stoned and sliced thinly
- For the glaze:
- 2 tbsp apricot jam or baking glaze; make sure it's smooth
- 1 tbsp water
Instructions
- Preheat the oven to 200C/400F and spray a 9 inch tart tin with cooking spray. I use Wilton Bake Easy.
- Place the flour, sugar and salt into your food processor. Drop in cubes of cold butter around the whole bowl. Pulse for a few seconds at a time until you have a mixture that resembles coarse breadcrumbs. Add in water, 1tbsp at a time, pulsing in between for at least 20 seconds. (you pulse for longer because you may think you need more water, but in actual fact it will come together if you keep pulsing!). I normally need 4tbsp of water.
- Pulse until your dough comes together and doesn't stick to the sides of the bowl.
- Alternatively you can place flour, sugar, salt and butter into a large bowl and use a pastry blender or your fingers to rub the butter and flour mix together until you have breadcrumb texture. Then add water 1tbsp at a time and mix with your hands until it comes together. I would advise the food processor method.
- Once your dough is ready, lightly flour a silicone pastry mat or your work surface. Tip the dough out and pat into a circle. (At this stage you can wrap the dough in cling film and place in the fridge to chill if required). Lightly flour the top and then roll once with a large rolling pin. Turn the dough 1/8th of a turn to the right and roll once, then turn it another 1/8th of a turn and roll. Continue until pastry is around 1/8th of an inch (3-4mm) thick, just over is fine. Re-flour the dough as required.
- Place rolling pin at one edge and then loosely fold the pastry dough up around the rolling pin. Take it over to your prepared tin and start unrolling it at least 3 inches further forward than your tin (in order to have enough to press it into the tin) Be gentle when un-rolling the dough. Let it fall into the tin. Remove a small piece of dough from one of the edges and roll into a ball.
- Lift and press the dough into the pan using the ball of dough to press it against the side and create a smooth, flat surface. Use your rolling pin to roll over the top of the pie tin gently, to cut away the excess pie dough (see note). (Dough will shrink in the pan, but this is what you want with this recipe as otherwise it will be too tall for the filling). Take a fork and prick holes in the bottom of your crust.
- Place a sheet of grease proof paper in the tin, ensuring it's big enough to come up the sides of the crust too. Tip in baking beans and make sure they cover the bottom of the crust.
- Place in the oven for 10-12 minutes, until the crust is just starting to colour.
- Remove baking beans (I tip them into a bowl to cool) and then place the pie crust back in the oven for 5 minutes.
- After 5 minutes, remove from the oven and leave to cool for 2-3 minutes. Then start with your filling! I started with plums in the centre; Find the centre of your pie and then move outwards slightly. Place slices of plum, overlapping each other in a clockwise circle.
- You can either go the same way or opposite way with the slices of nectarine, but follow the same process, overlap each slice and turn slightly so the slices will go all around the pie and meet each other.
- Place in the oven for 17-20 minutes until the fruit looks soft and ever so slightly browned. Crust will be golden. I always use a pie crust shield around the edges of my pies to make sure the edges don't get too brown. If you don't have one, roll up some foil and then shape it around the tin to cover the edges.
- Leave pie to cool completely before adding glaze. Place apricot glaze into a small bowl and ad in water. Mix until well combined and smooth. you want a fairly runny mixture. Brush the mixture all over the fruit and crust to create that glossy finish.
- DEVOUR! Tart will keep covered, in the fridge, for 3 days.
Notes

I link up at these great Link Parties!


