How is it June already?!?
I mean what the hell 2013, where are you going?! I’m glad to be finished with Uni for Summer, but time is flying by way too quickly.
Another cookie recipe for you all today 😀 Yes, more cookies! I’m sorry, but these are too good not to share!
Uber thick and soft, and stuffed full of nougat-ey, crispy goodness.
Before we talk about cookies, there’s something I need to address and I’m also asking you all for advice as I don’t know what to do.
This is because there has been an explosion of recipe and picture theft from food bloggers. We put so much effort into making and photographing our recipes, it makes me so sad that some people want to steal our hard work.
I am aware that at the end of the day we can only do so much and that if someone is determined enough, they will get out pictures somehow, so I’ve been trying to do as much as I can to stop them.
But I love it when you pin my recipes and feature me on your sites and I’m aware it is annoying to not be able to get my pictures when you are using them correctly. I am happy to email images, but this is a pain as well, I want to share my recipes, that’s why I started this blog, so I don’t think it’s right that people who want to feature my recipes have to work hard to get an image.
I’ve thought of putting a larger watermark on my images, but I think this would ruin my photos, no matter how low I have the opacity. I’ve always put my website at the bottom, but this is so easy to crop out.
I think I’ve decided on a compromise and I’d love to know if you think it’s the best thing for me to do.
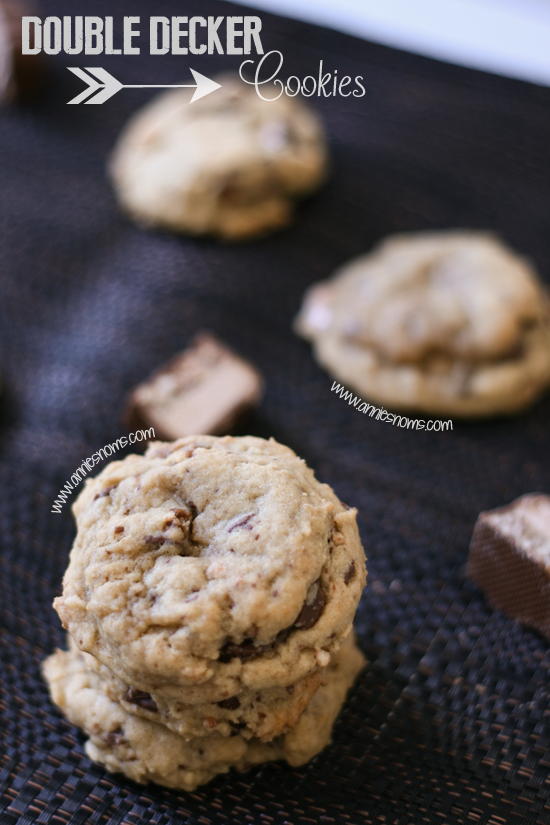
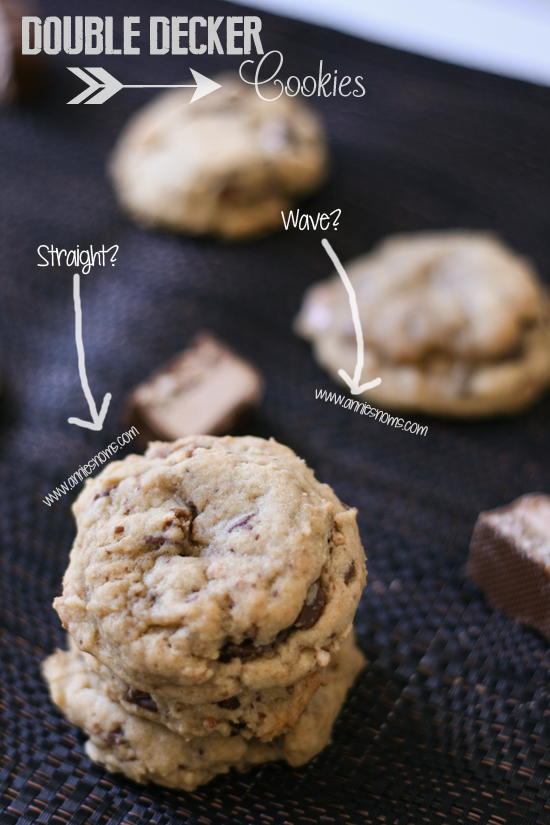
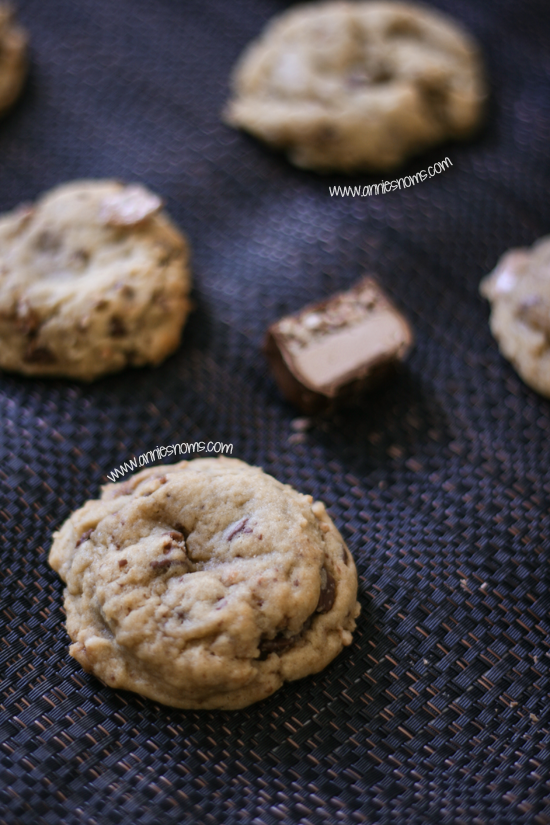
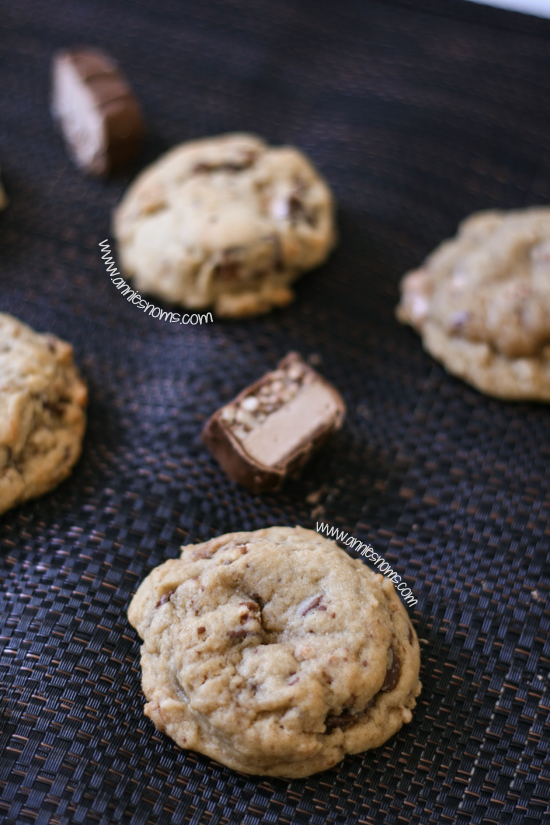
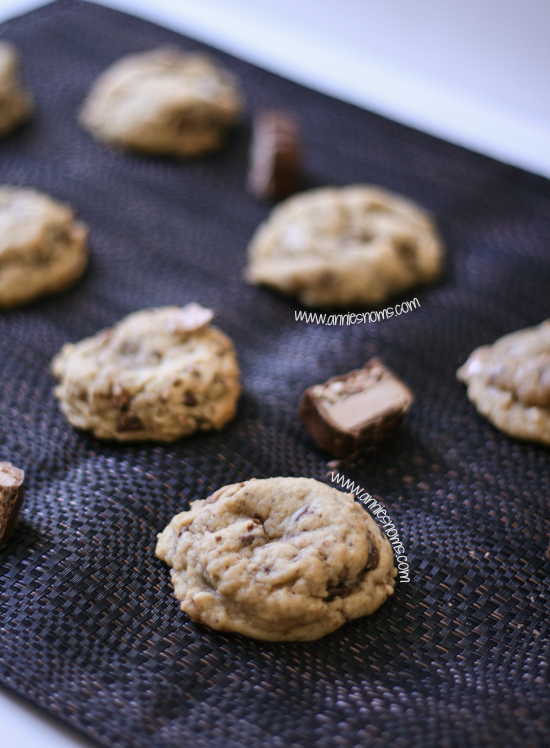
As you’ll see above, I’ve moved my watermark and placed it in the middle of the picture. I’ve seen this on a few blogs recently and I think it’s a really good idea as it’s harder to crop out. It takes a lot longer to edit the pictures as I have to go through each image and warp the text, but if it means my images are available for you to use in features then I’m happy to do that. I’ve also tried the picture with a straight watermark in the middle and a waved one. So which do you prefer, the arch, wave or straight??
Please, let me know if this looks OK, I don’t think it ruins the images, but I want your opinion!! I’ll re-enable right click and stop the error page if this is something you think works!
After all of that serious business, it’s back to cookies…
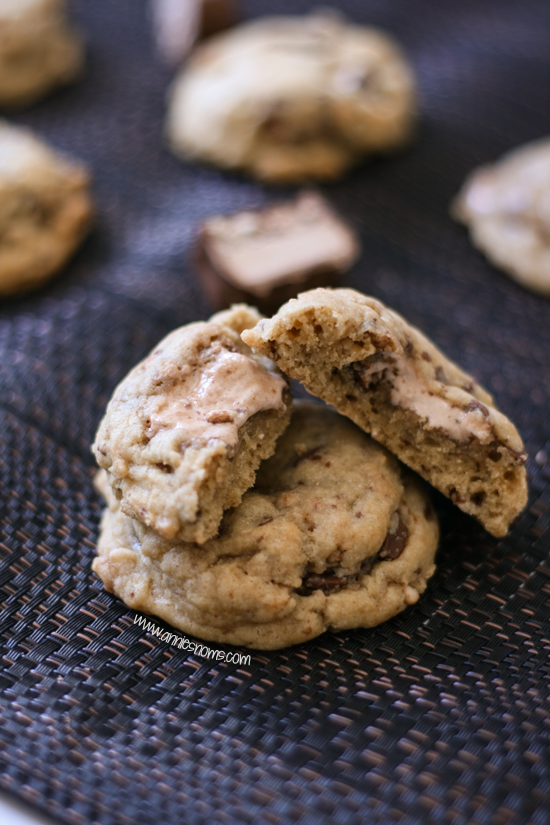
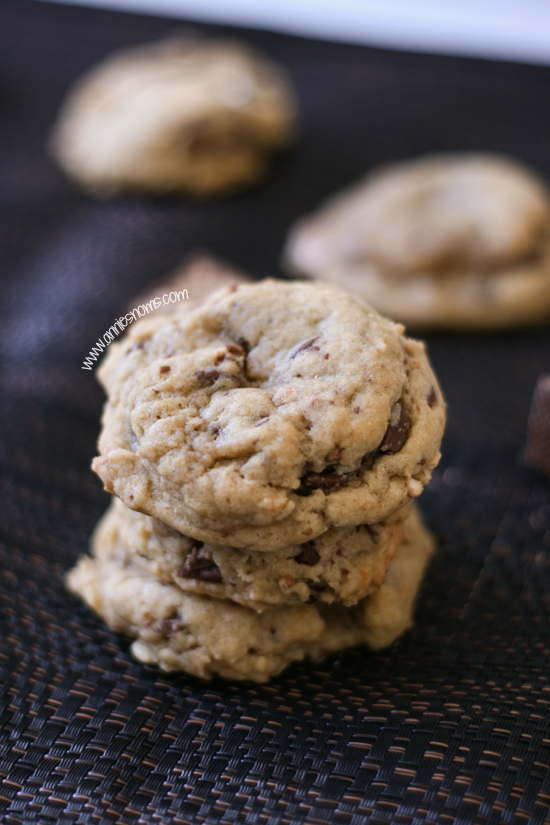
Look at that melted nougat on top….. OMG! Melted nougat is amazing! I would have been happy with a whole bowl of melted nougat…
You should know by now that I really like to stuff my cookies with chocolate. I want there to be a bit of chocolate, nougat or crisp in every bite.
These are totally perfect. Every bite is crammed with flavour. The cookie is soft, yet ever so slightly chewy. This is the base cookie recipe I’ve been using for ages now and I love it, for these I’ve added all light brown sugar as I just love the taste it gives to cookies.
There are 4 full size double decker bars in these! And I even managed not to eat too much of the dough so I ended up with the full amount of cookies 😀
Double Decker Cookies
Ingredients
- 1 1/2 cups plain flour
- 1/2 cup bread flour
- 2 tsp cornflour
- 1 tsp bicarbonate of soda
- 4 full size Cadbury Double Decker bars, chopped into 1/2 inch pieces
- 1 1/2 sticks (170g) unsalted butter, at room temp
- 1 cup light brown sugar
- 1 tsp vanilla extract
- 2 eggs
Instructions
- No need to preheat the oven yet, this dough needs to chill.
- Place the flours, bicarb and chopped double decker bars into a medium sized bowl and mix to combine.
- Place the butter and sugars into a large bowl or the bowl of your stand mixer and beat until light and fluffy, about 2 minutes on med-high speed.
- Add in the eggs and vanilla.
- Mix until well incorporated and smooth, about 1 minute on med-high speed.
- Add in the flour mix and mix on low until a dough forms.
- Tip the dough into a medium sized bowl (the one you measured the flour in is fine) and cover with cling film.
- Place in the fridge for at least 6 hours, overnight if possible. Once chilled, preheat the oven to 180 degrees C/350F and line 2-3 baking trays.
- Using a 1.5tbsp cookie scoop, place balls of dough 2 inches apart on your baking trays. I usually get 12 cookies per tray.
- Flatten the dough balls very slightly so they don't fall off the tray and place in the oven for 8-9 minutes. Cookies are done when ever so slightly brown around the edges and still soft and underdone in the middle. The cookies will firm up during cooling, but you really don't want to over bake them as they won't be as good!
- Cool on trays for at least 10 minutes before transferring to a wire rack to cool completely.
- Cookies will keep in an airtight container, at room temperature for 5 days.
Notes
Enjoy 🙂

I link up at these great Link Parties!

